


-
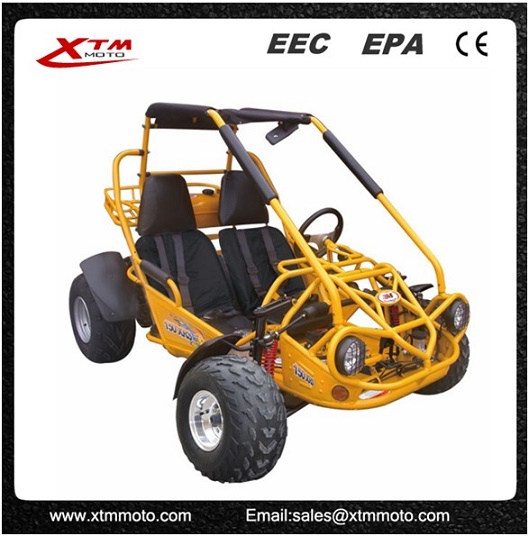
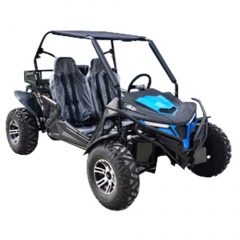 XTM UTVK7 (E)X 300cc side by side 4-stroke 275cc go kart manufacturer
XTM UTVK7 (E)X 300cc side by side 4-stroke 275cc go kart manufacturer
-
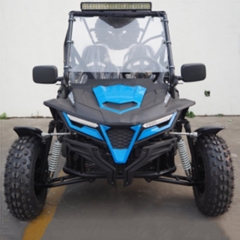
 XTM UTVK7 (E) water-cooled 4-stroke go kart 300cc single cylinde wholesale
XTM UTVK7 (E) water-cooled 4-stroke go kart 300cc single cylinde wholesale
-
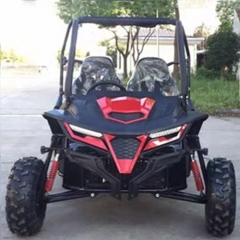
 XTM UTVK5 200 [E]X 4-stroke go kart single cylinder EFI 169cc
XTM UTVK5 200 [E]X 4-stroke go kart single cylinder EFI 169cc
-
 XTM UTVK3 200 [E] AIR COOLED 208CC UTV Wholesale
XTM UTVK3 200 [E] AIR COOLED 208CC UTV Wholesale
-
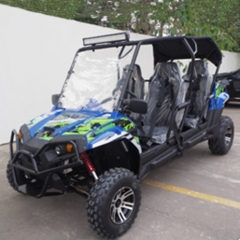 XTM UTV4 300EX Luxious 4-stroke 300cc utv with reverse
XTM UTV4 300EX Luxious 4-stroke 300cc utv with reverse
- 2016-12-09 18:03:51
- admin
First- how to assembled The little Components
XTM moto buggy off road go kart Set up instruction
This set up instruction guides our customer to set up the go kart TrailMaster 150XRX step by step to ensure a correct assembly for safe driving.
1. Check the components after opening the box.
1.1 Battery (pic. 1): type YTX12-BS (12V10Ah), includes one battery, one battery liquid, two bolts and nuts for installation.
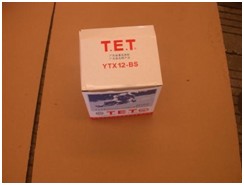
Pic. 1
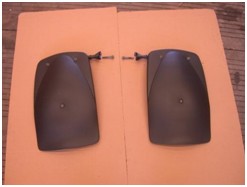
1.2 One set of front fenders for left and right (pic. 2)
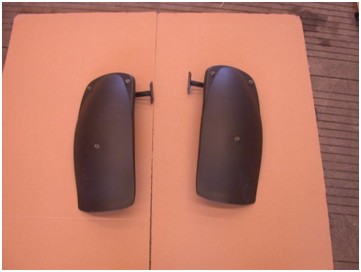
Pic. 2
1.3 One set of rear fenders for left and right, two bolts M8x45 screwed in the brackets (pic.3)
Pic. 3
1.4 One fuel tank (pic. 4): preassembled with auto fuel lock, vacuum tube, tank cap, tank collars, tank rubber mounts and sticker.
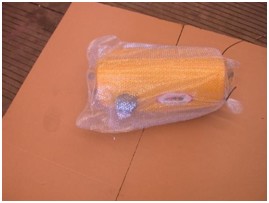
Pic. 4
1.5 One Rear mirror (pic. 5), the nuts M10x1.25 are in the box.
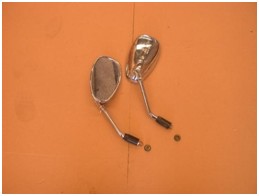
Pic. 5
1.6 One set of awning and two foam paddings (pic.6)
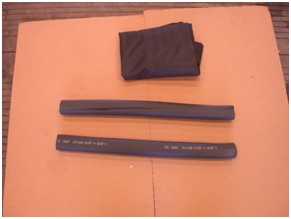
Pic.6
1.7 One sport steering wheel, one fixing seat for kids and 6 bolts (pic.7)
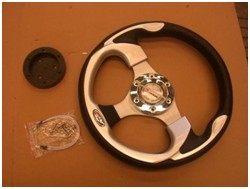
Pic.7
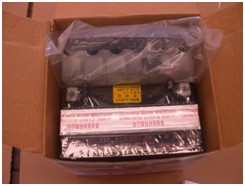
1.8.1 one standard parts package, one manual, one flag, one battery cover, one battery strap, one battery lower cushion, four hub coves, plastic fixing bolt and nut for flag and 10 cable bundles (pic.8)
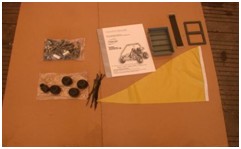
Pic.8
1.8.2 In the standard parts package: 2 bolts M8x115, 2 bushes for head lights,4 bolts M8X25, 4 bolts M8X20, 2 cotter pins 3X40, 2 cotter pins 2.5X25, 22 R-washers, 2 washers ∮8,, 10 self-locking nuts
M8 (pic.9)
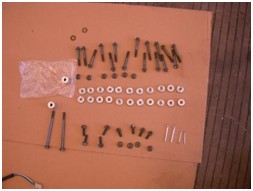
Pic.9
1.9 Two head lights, one wiring for head lights, two head rests (pic.10)
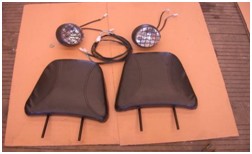
Pic.10
1.10 Two bar cages (pic. 11)
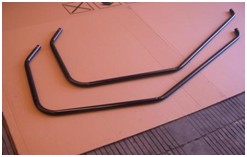
Pic.11
1.11 One top cross bar preassembled with tube seats and rear mirror (pic.12)
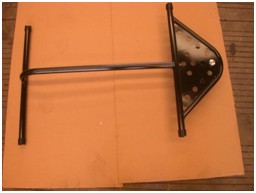
Pic.12
1.12 Two side bars for left and right side with tube seats (pic. 13)
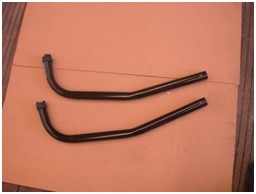
Pic.13
1.13 One top cross bar with tube seats (pic.14)
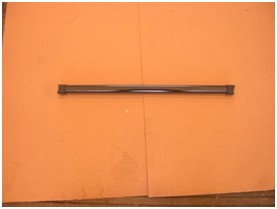
Pic.14
1.14 One rear cargo rack preassembled with tube seats, rail light and turn light (pic.15)
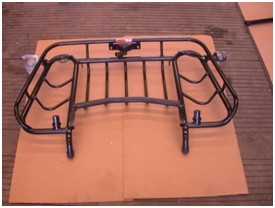
Pic.15
1.15 Two support arms of rear cargo rack (pic.16)
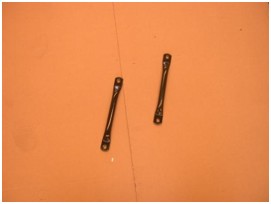
Pic.16
1.16 front wheels left and right; rear wheels left and right (pic.17)
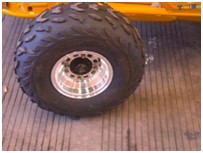
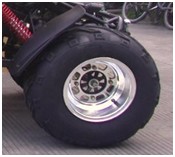
Pic.17


